Updating your home’s windows doesn’t always mean tearing out old frames and starting from scratch. If your existing window pockets are still square, level, and rot-free, a retrofit (also called “insert” or “pocket”) installation can be a smart, cost-effective way to upgrade. You get the benefits of new, energy-saving glass and modern sashes without disturbing your trim, siding, or interior walls. Below, we’ll explain when retrofit is a great choice, walk through each installation step, compare retrofit to full-frame replacements, and answer the questions most homeowners ask. Whenever possible, we’ve linked to trusted industry sources so you can explore further.
Why Retrofit Installations Make Sense
- Save Time and Money
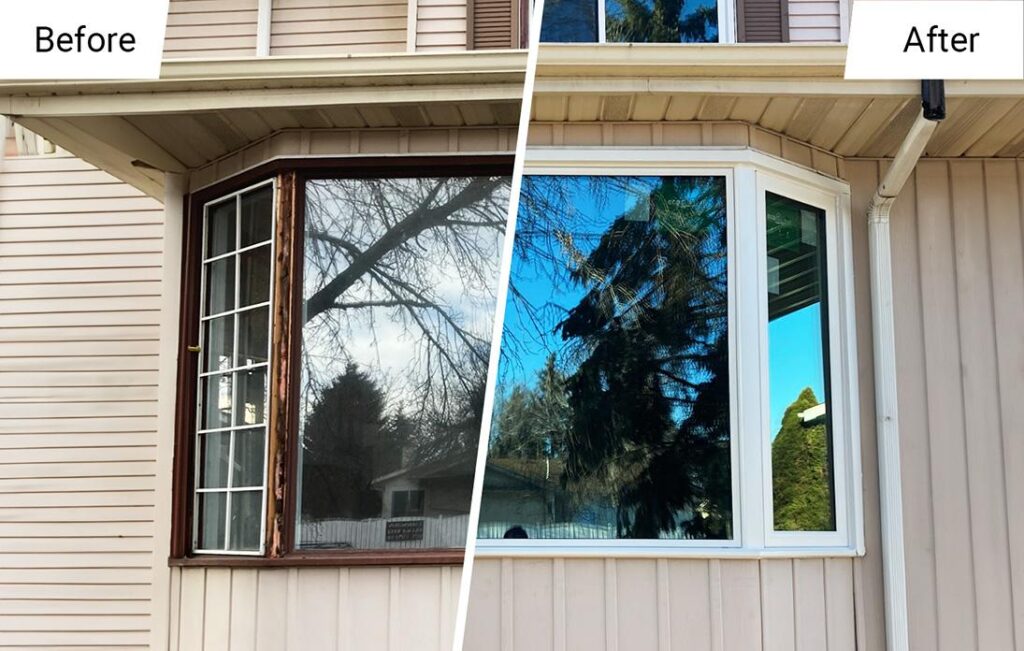
By keeping your existing frame and trim in place, you cut labor and material costs by roughly 30–50% compared to a full-frame replacement. Installers slip the new sash into the old pocket, so each window usually takes just 1–2 hours instead of 3–5 hours. - Minimal Disruption
Because you’re not ripping out the old jambs and trim, there’s very little dust, drywall work, or siding repair. Your living room stays liveable, and your walls and floors remain untouched. - Real Energy Gains
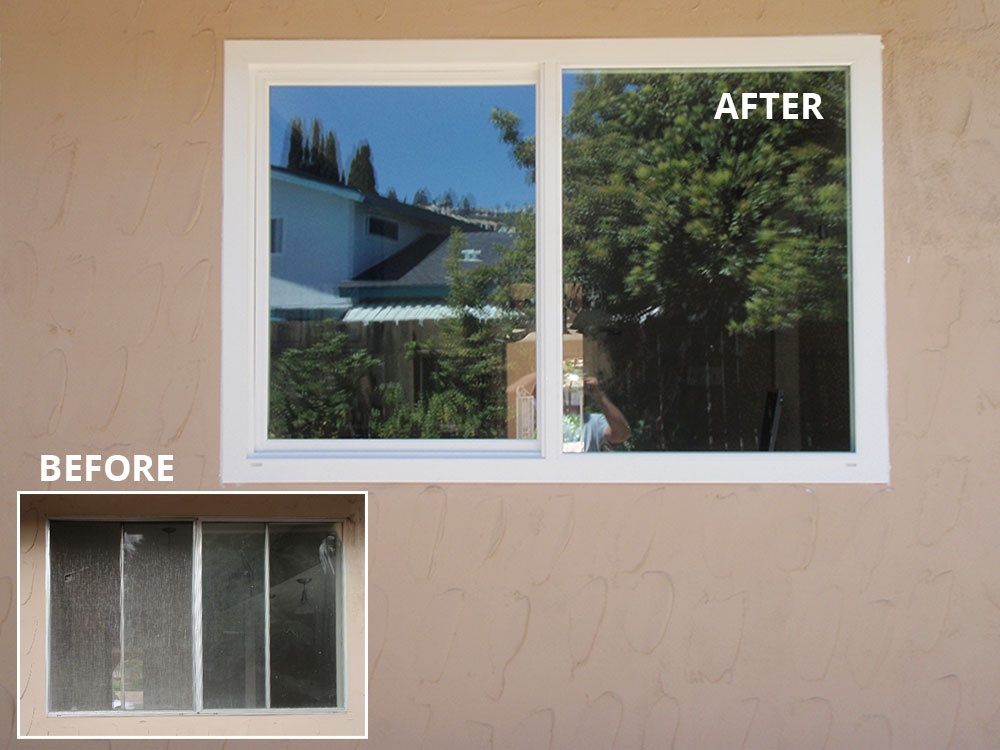
Swapping in modern, insulated glass units (IGUs) and fresh weatherstripping seals out drafts and cuts heat loss. Even though you keep the old frame, you’ll still see noticeable savings versus older single-pane or drafty double-pane windows. - Preserve Historic Details
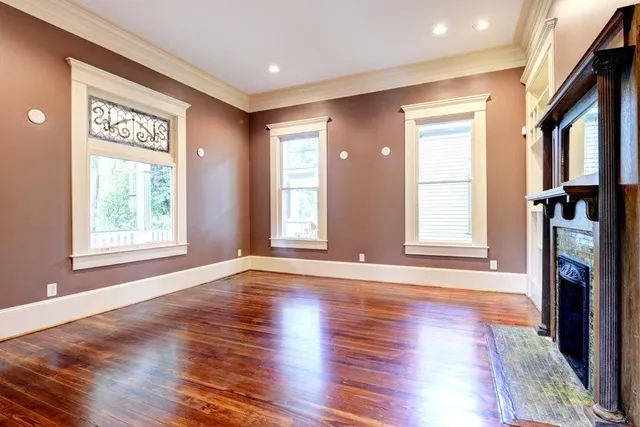
For older homes with original casings, decorative moldings, or finely crafted jambs, retrofit keeps those character-rich features intact. You get the charm of your home’s original trim with the performance of brand-new glass.

When Retrofit Is Ideal:
- The existing frame is square, level, and free of rot or significant damage.
- You don’t need to change the window’s rough opening size or trim style.
- You’re looking for a faster, more budget-friendly upgrade.
1. Step-by-Step Guide to Retrofit Window Installation
A. Inspection & Measurement
- Check Frame Condition
- Look for any signs of rot, mold, or warping in the sill, jambs, and head. If wood is soft or compromised, you’ll need a full-frame replacement instead.
- Measure Your Rough Opening
- Use a tape measure to record the width at three points (top, middle, bottom) and the height at three points (left, center, right).
- Always go with the smallest measurement so your new window slips in without binding.
- Choose Retro-Fit Windows
- Frame Material Options:
- Vinyl: Affordable, easy care, and good R-values.
- Fiberglass: Very stable—won’t bow or warp, even in extreme heat or cold.
- Clad Wood: Real wood interior with a durable metal or vinyl exterior shell.
- Glazing:
- Double-Pane Low-E with Argon Fill is generally the baseline for energy savings.
- Triple-Pane can be worth it in frigid climates but comes at an extra cost.
- Frame Material Options:
B. Prepare the Existing Frame
- Remove Interior Stops
- Carefully pry off the small wooden strips holding the old sashes in place—these are your stops.
- Clean & Square the Pocket
- Vacuum or brush away debris inside the frame pocket. Check all four sides for snug, even surfaces.

C. Dry Fit the New Window
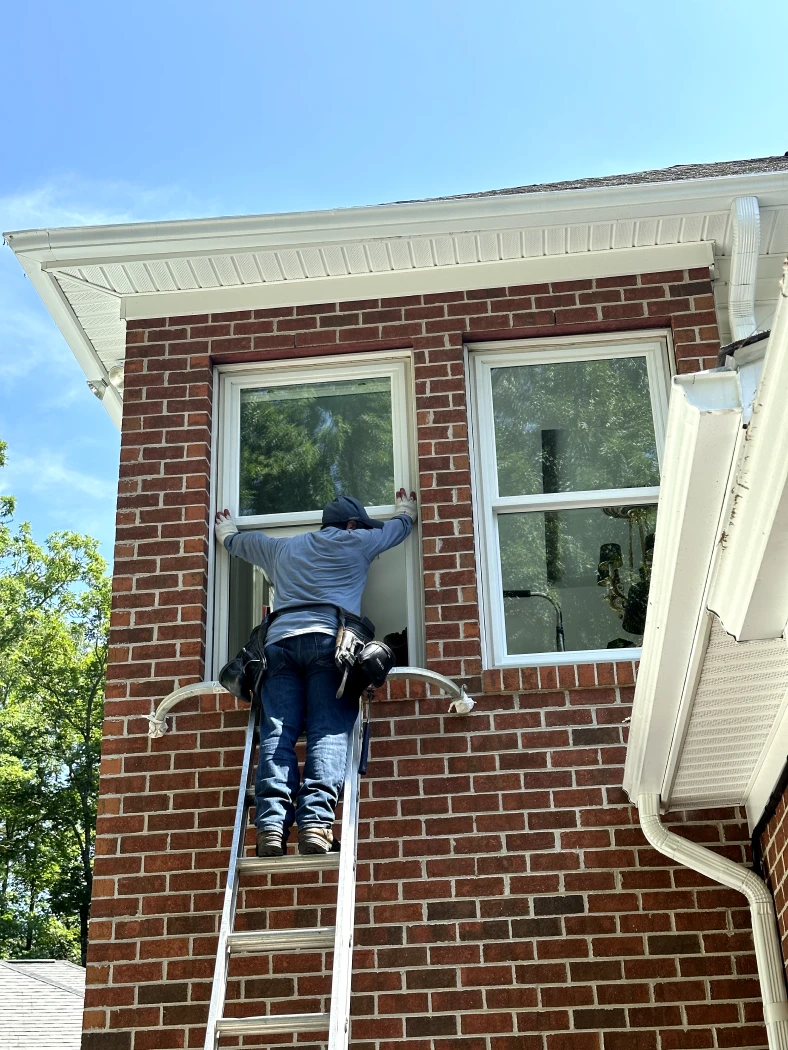
- Slide the Retrofit Unit In
- The manufacturer will specify that your new sash should be about ¼” narrower and ¼” shorter than the rough opening.
- Shim to Level & Plumb
- Place shims under each corner as needed so the sash sits perfectly level and plumb in the pocket.
D. Permanent Installation
- Secure the Sash
- Most retrofit units have pre-drilled holes in the jambs. Drive screws through these holes into the old frame, following the manufacturer’s torque recommendations.
- Seal the Gap
- Fill the perimeter gap (between the new insert and old frame) with low-expansion spray foam or backer rod plus silicone/polyurethane caulk. This blocks air leaks without bowing the new window.
E. Finish Interior & Exterior
- Interior Stops & Casing
- Snap or nail the interior stops back in place (or replace them if you want a fresh look).
- Exterior Trim & Caulking
- Replace any damaged exterior casing. Carefully caulk around the outside perimeter with a high-quality, exterior-rated caulk to prevent water intrusion.
F. Final Checks
- Test Operation
- Open, close, and lock the window. If it tilts in (in a tilt-in model), make sure it operates smoothly.
- Inspect for Drafts
- On a blustery day, feel around the frame for any air leaks. Re-caulk or re-foam any spots that don’t feel airtight.
2. Retrofit vs. Full-Frame Replacement: Quick Comparison
| Parameter | Retrofit Installation | Full-Frame Replacement |
|---|---|---|
| Old Frame Removal | No | Yes |
| Installed Cost (per window) | $300–$600 | $600–$1,200 |
| Time per Window | 1–2 hours | 3–5 hours |
| Level of Disruption | Low (trim remains) | High (removes trim/siding) |
| Energy Efficiency Upgrade | Moderate (uses existing frame) | High (new frame + foam insulation) |
| Ideal Condition | Frames are sound | Frames are damaged or need resizing |
| Permit Requirement | Often no permit needed | Usually requires a permit |
| Historic Trim Preservation | Yes | No (trim must be replaced) |
3. Tips for a Smooth Retrofit Project
- Verify Frame Health
- Inspect sills and jambs carefully. If you see any soft wood or mold, that window pocket needs replacement, not just a retrofit.
- Use the Right Sealants
- Low-expansion foam fills gaps without distorting the new insert. Finish with a good exterior caulk—silicone or polyurethane rated for windows—to keep moisture out.
- Hire Certified Pros
- Many window manufacturers require a certified installer to honor the warranty and achieve advertised energy performance. Experienced installers know how to flash correctly and seal tightly.
- Choose ENERGY STAR®-Rated Inserts
- Look for retrofit windows with a U-Factor of 0.30 or lower and an SHGC suited for your climate. That way, you’ll qualify for local rebates and get the best efficiency gains.
- Schedule Around Mild Weather
- Extreme cold can keep foam from curing properly, and extreme heat can make caulking tricky. Aim for installation on moderate, dry days whenever possible.

4. Frequently Asked Questions
Q: Can any window be retrofitted?
A: No. Your existing frame must be square, level, and free of rot or water damage. If you see wood that’s soft to the touch or an opening that’s out of square by more than ¼”, a full-frame replacement is your only option.
Q: How much can I save on energy costs?
A: If you replace old single-pane windows, expect a 10–15% drop in heating and cooling costs. If you’re already at double-pane, you’ll see smaller—but still noticeable—savings by adding newer insulated glass and better weatherstripping.
Q: Do inserts cut down on visible daylight?
A: Yes, typically by about ½”–1″ of added bottom rail (the horizontal piece at the base). Most homeowners find the slight reduction in glazing area a fair trade for improved insulation and maintaining their original trim.
Q: How long do retrofit windows last?
A: High-quality retrofit units usually last between 20 and 30 years, with basic maintenance like cleaning the tracks, inspecting seals, and recaulk as needed.
Q: Are retrofit windows eligible for rebates?
A: Absolutely—many utility and government programs allow retrofit inserts if they’re ENERGY STAR® certified. Always verify your local solar or energy-efficiency incentive programs to confirm eligibility requirements.
Retrofitting your existing windows is a smart way to get new, energy-efficient glass without tearing out old frames or disturbing your home’s character. By following the steps above—choosing the right materials, measuring carefully, and sealing properly—you’ll enjoy more comfort, lower utility bills, and preserved historic details for years to come.

